Build a Jenkins MSI on your own Windows machine
Summary
Should you ever need to rebuild a Jenkins MSI on your Windows machine, here is a way to do it.
Pre-requisites
Jenkins WAR file
First of all, you should get the Jenkins war file that will be inside that MSI file. You can get it from the official Jenkins website or from the Jenkins update center. I will use the official Jenkins website in this article.
Check Jenkins download page and download the latest weekly version of Jenkins for example.
Git tool
You have a few options here:
- Install Git for Windows
- Use your IDE to clone the repository
- Use GitHub Desktop
- Use SourceTree
- Use Cygwin integrated Git command
- […]
Install MSBuild
You can install MSBuild from Visual Studio or from the Build Tools for Visual Studio.
This command line tool is used to build the MSI file.
Install .NET Framework 3.5
You may already have it installed on your machine, but not activated. You can activate it from the Windows Features dialog box.
To access this dialog box, smash the WinKey plus R, then enter the command appwiz.cpl and push enter.
Search for
Turn Windows features on or off.
Tick the .NET Framework 3.5 entry and install.
Important: now run Windows Update to check for security updates.
If it is not installed yet, you can install .NET Framework 3.5 from the Windows Features.
Check you have Powershell installed
In recent versions of Windows, PowerShell is already installed and accessible through the terminal application.
At the time of writing, the pre-installed version is 5.1.22621.963.
You can also install the latest version from the Microsoft Store (7.3.2 at the time of writing).
Clone the Jenkins repository and build the MSI
Clone the Jenkins packaging repository
Choose your git tool and clone the Jenkins packaging repository on your machine.
Prepare the build
Open a terminal and go to the folder where you cloned the repository. For me it is C:\dev\jenkins\git\ci\packaging\.
You now have to declare where you downloaded the Jenkins war file so that the build can find it.
$env:War = "$env:USERPROFILE\jenkins.war"
If you ever moved it into your repository clone folder, you can use this command instead:
$env:War = "C:\dev\jenkins\git\ci\packaging\msi\build\jenkins.war"
Build the MSI
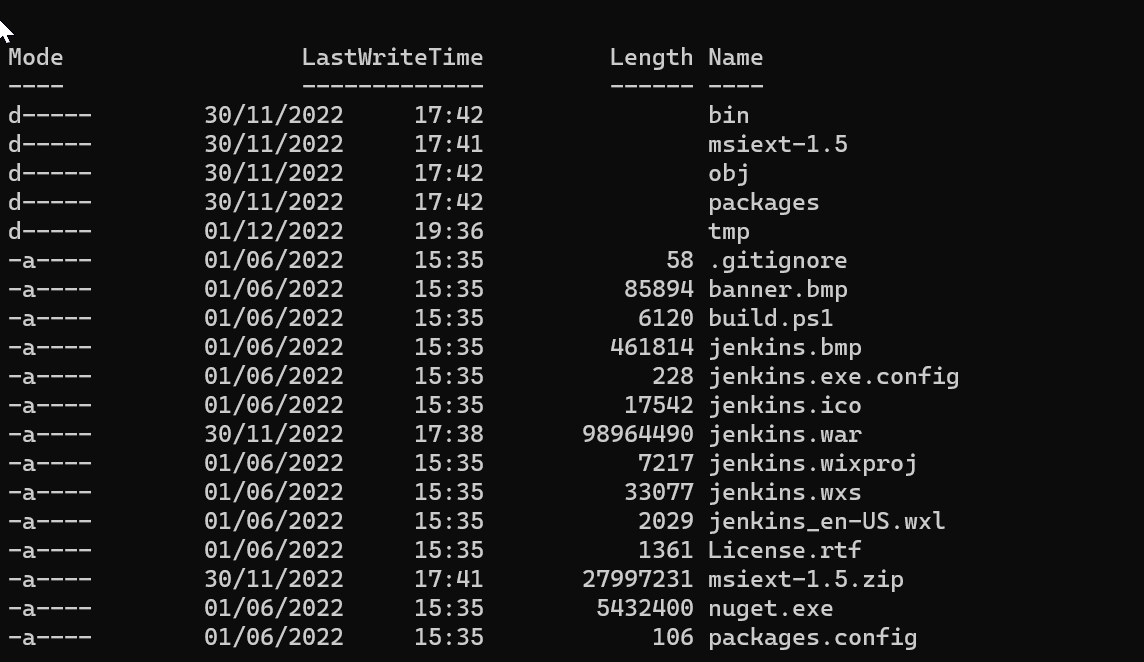
Enter the subfolder msi\build and run the following command:
.\build.ps1
For me, this was the output:
Extracting components
JenkinsVersion = 2.392
Restoring packages before build
All packages listed in packages.config are already installed.
Building MSI
MSBuild version 17.4.0+18d5aef85 for .NET Framework
Build started 01/12/2022 20:53:30.
Project "C:\dev\jenkins\git\ci\packaging\msi\build\jenkins.wixproj" on node 1 (default targets).
SetConstants:
  EncodedVersion = 2.255.3920
Compile:
Skipping target "Compile" because all output files are up-to-date with respect to the input files.
AssignCultures:
  Culture: en-US
Link:
  C:\dev\jenkins\git\ci\packaging\msi\build\packages\WiX.3.11.1\build\..\tools\Light.exe -out C:\dev\jenkins\git\ci\packaging\msi\build\bi
  n\Release\en-US\jenkins-2.392.msi -pdbout C:\dev\jenkins\git\ci\packaging\msi\build\bin\Release\en-US\jenkins-2.392.wixpdb -sw1076 -cultures:en-US -ext C:\S
  upport\users\jenkins\git\ci\packaging\packaging\msi\build\packages\WiX.3.11.1\build\..\tools\\WixUIExtension.dll -ext C:\dev\jenkins\git\ci\packaging\msi\bu
  ild\packages\WiX.3.11.1\build\..\tools\\WixNetFxExtension.dll -ext C:\dev\jenkins\git\ci\packaging\msi\build\packages\WiX.3.11.1\build\..\tools\\WixUtilExte
  nsion.dll -ext .\msiext-1.5\WixExtensions\WixCommonUIExtension.dll -ext C:\dev\jenkins\git\ci\packaging\msi\build\packages\WiX.3.11.1\build\..\tools\\WixFir
  ewallExtension.dll -fv -loc jenkins_en-US.wxl -spdb -contentsfile obj\Release\jenkins.wixproj.BindContentsFileListen-US.txt -outputsfile obj\Release\jenkins.wixproj.BindOutputs
  FileListen-US.txt -builtoutputsfile obj\Release\jenkins.wixproj.BindBuiltOutputsFileListen-US.txt -wixprojectfile C:\dev\jenkins\git\ci\packaging\msi\build\
  jenkins.wixproj obj\Release\jenkins.wixobj
  Windows Installer XML Toolset Linker version 3.11.1.2318
  Copyright (c) .NET Foundation and contributors. All rights reserved.

  jenkins -> C:\dev\jenkins\git\ci\packaging\msi\build\bin\Release\en-US\jenkins-2.392.msi
Done Building Project "C:\dev\jenkins\git\ci\packaging\msi\build\jenkins.wixproj" (default targets).


Build succeeded.
    0 Warning(s)
    0 Error(s)

Time Elapsed 00:00:08.26
Find the MSI file
The MSI file is located in the .\bin\Release\en-US\ folder.
You will find there the generated MSI file and its sha256 file.
 ls

    Directory: C:\dev\jenkins\git\ci\packaging\msi\build\bin\Release\en-US


Mode                 LastWriteTime         Length Name
----                 -------------         ------ ----
-a----        01/12/2022     20:53      105107456 jenkins-2.392.msi
-a----        01/12/2022     20:53             84 jenkins-2.392.msi.sha256