How to install Armbian on the Station P1 starting from Android
Summary
balbes150 asked the other day on the Armbian forum if NicoD could make a video about installing Armbian on the Station P1 directly, without using anything else.

I’m not NicoD, but thought that NicoD was already making really interesting videos, and deep dive ones, so that I could maybe do this “supposed to be trivial” one…
Introduction
How could we install Armbian onto the Station P1? Most of the times, installing Armbian is just a matter of finding and downloading the right image on Armbian’s website, and to write it on a SDCard before inserting it into your device. With a RK3399 based device running Android, things get a little bit more complicated. Most of the devices sporting a RK3399 SoC don’t boot easily on a SDCard. Their boot order is hardwired into the U-Boot and you need to get it in a special mode (often implying using pliers to short two contact pads on the board, or other sorcery tricks). Fortunately, Firefly did their homework, and booting on the SDCard is just a matter of putting a bootable system on the SDCard, and accessing the recovery mode is done by inserting a small Allen key into the mini-jack audio port. Well done, folks! So, what do we need or want to do? We need to install an Armbian image, downloaded on the Station P1 running Android, on the SDCard without using a SDCard reader, or another computer. Just like what would face someone getting a P1 as a first computer, and having nothing else than a keyboard, a mouse, an HDMI display, and an Internet connection. Sounds easy, except that with Android, you don’t have a direct and complete access to the SDCard. If you have an application, it can write images, sounds, files, whatever to the SDCard (as long as it has declared the right authorizations in the manifest file and that the user acknowledged he’s ok with that), but it can’t have a direct and complete access to the SDCard, unless… the device is rooted. When the device is rooted, you can do lots of things you couldn’t do when you weren’t root, as writing directly to the SDCard. That’s what we need. So the first step we’ll take is to become root, and the second find the right application to write to the SDCard. Once that will be done, we will reboot on the SDCard, run Armbian, and ask Armbian to install itself onto the eMMC.
Becoming root
How not to root
I used to root Android phones a few years ago, because I needed to have greater control on the phones I used on a daily basis, and to have access to more features, or more recent versions of Android forks. Since then, I stopped working with older phones and bought a recent one, so no need to root anymore. I am then kind of rusted. So I tried KingRoot, KingoRoot, BaiduRoot, TowelRoot, TWRP, and others I forgot. Each and everyone of them failed. I guess they were developed for older versions of Android, the Station P1 running Android 7.1.2 by default (Android 10 available). So I was kind of despaired, and wrote a tweet to StationGeeker, asking them for help.
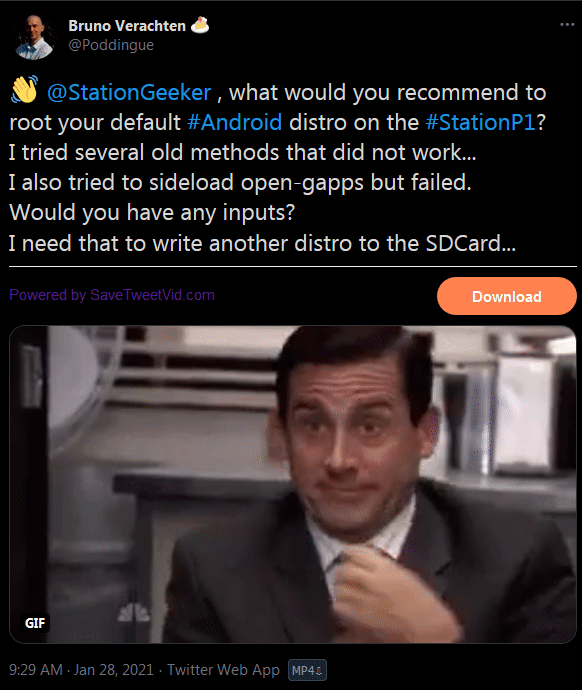
They were kind enough to anwer by email and give me two methods to root the Station P1.
How to root
The first method they gave me was pretty straightforward. Become a developer on the P1, go in the developer options, and change root access.
How can we become developer? As on most Android devices, you just have to click 7 times on the build number to become a developer.
To do so, go into Settings, Advanced, Tablet Status and at the bottom of the page, you’ll find the famous build number.

Once you’re a developer, you can then go into Developer options, and click on Root access .You can then change the root access, and click ok.
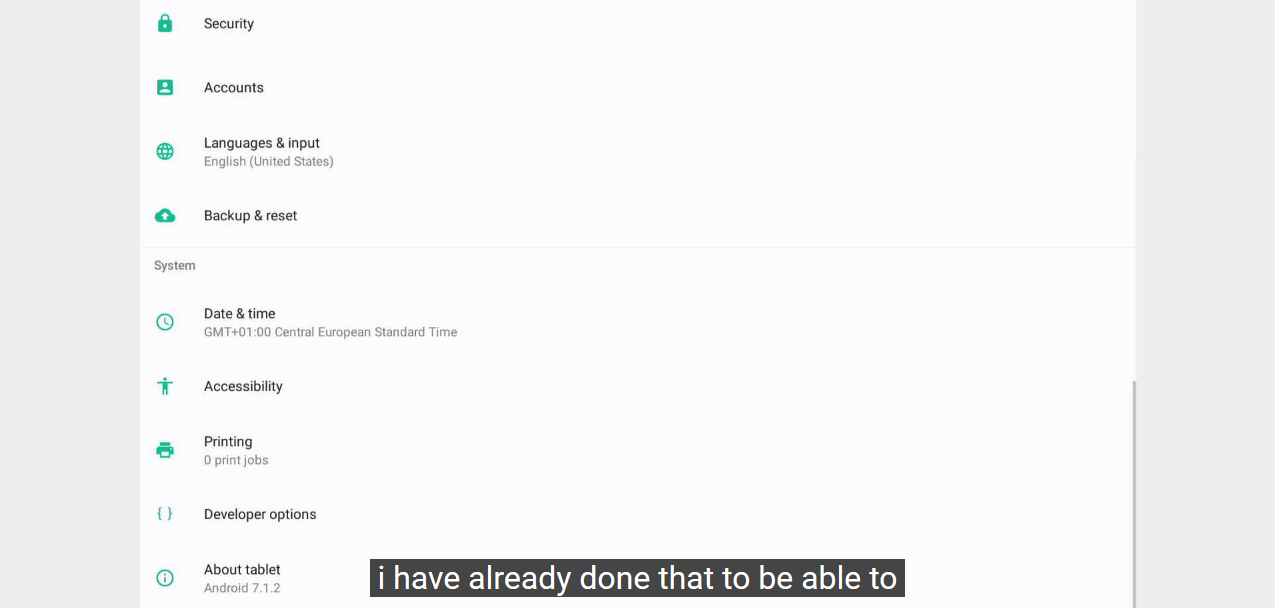
Suddenly, you’re root. Yes, it’s as simple as that. Now, let’s find an application that will know how to write an Armbian image to the SDCard.
SDCard writing
If you haven’t downloaded your Armbian image for the P1, go to https://www.armbian.com/station-p1/ and choose the image you want to try. I’m not into Ubuntu for SBCs, so I chose Armbian bullseye server, but choose whatever suits your needs. The image will then be located in /data/media/0/Download/ .
What not to use
I first tried EtchDroid, as I saw it referenced just about everywhere. It was supposed to write images on the SDCard once the device is rooted. I installed it, tried it before rooting the device, and I was pretty confident I would be able to use it once the device would be rooted. Unfortunately, Etchdroid never launched after having rooted the P1, so I had to find something else.
I then tried Berryboot installer, which was also supposed to be able to write on the SDCard once the device would be rooted.
I made tons of stupid mistakes, like trying to write on the SDCard while it was mounted, write on the mouting point and other stupid things… I should be ashamed.
Anyway, I then decided to use the reliable dd command . First thing first, let’s find the real device, and not just the mounting point.
What to use
The df command tells us that the device is mounted on /mnt/media_rw/5C7F-18DE and that the block device that corresponds to that is /dev/block/vold/public:179,129 . Looks fishy. Of course, that wasn’t right.
Looking at the mounting points (cat /proc/partitions) I could see that the 179 was in fact mmcblk0 . Two partitions, vfat, about 16GB, I think we found it!
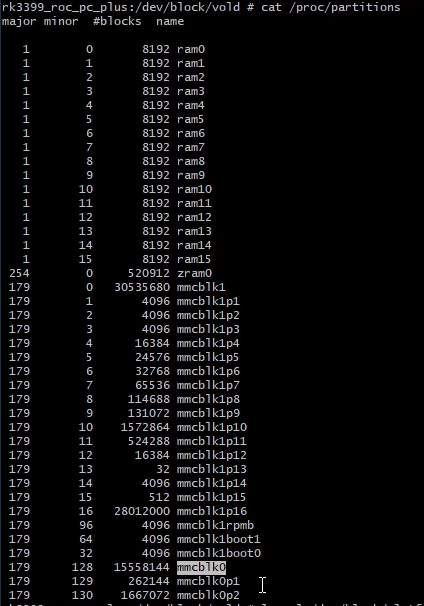
So the real path to the SDCard is /dev/block/mmcbkl0 . Unfortunately, for whatever reason, BerryBoot went really fast and wrote nothing on the SDCard. I rebooted with the SDCard on, and Android was back. I may have forgotten to unmount the SDCard before using BerryBoot, so that may be why. Try it and let me know if that works for you.
At that time, I decided to go back to the command line. I then downloaded and installed TermUx to have a terminal to issue dd commands. The P1 is supplied without Google Play Store, so that you have to install F-Droid or ApkPure to install applications.
TermUx gives you a command line interface, that looks like what you have with Debian for exemple. You even have a package manager, so that you can keep your system (i.e. TermUx) up to date.
The first thing I did was to call
pkg update
pkg upgrade
Then I unmounted the SDCard. It took several attemps, so I carefully checked with the df command that it was unmounted before trying to write to it.
mount
df
umount /mnt/media_rw/5C7F-18DE
df
mount
You get the idea. Repeat ad nauseam, or until the SDCard is not mounted anymore.

To have the sudo command we have to install the tsu package by issuing pkg install tsu .
Once it’s installed, we can then try our first sudo dd command.
sudo dd if=/data/media/0/Download/Armbian_20.11.10_Station-p1_bullseye_current_5.9.14.img of=/dev/block/mmcblk0 bs=1000000
Of course, you will have to change the name of the image, as Armbian will change its version number and the kernel version the image is based on. By the way, don’t forget to put the SDCard in the Station P1 before issuing the command, or you will write somewhere, but not on the SDCard. Been there, done that. If the process takes quite some time and gives you an output slower than 20 M/s, that could mean you succeeded.

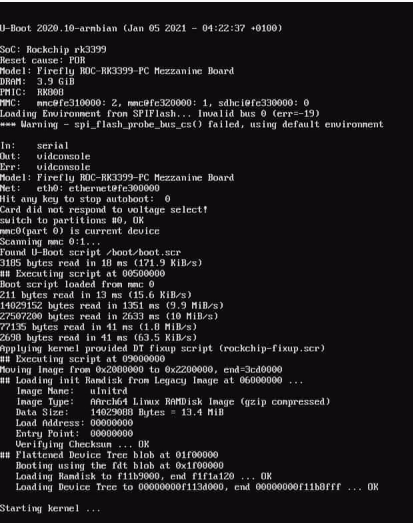
You can now reboot thanks to the remote control. You should see Armbian running.
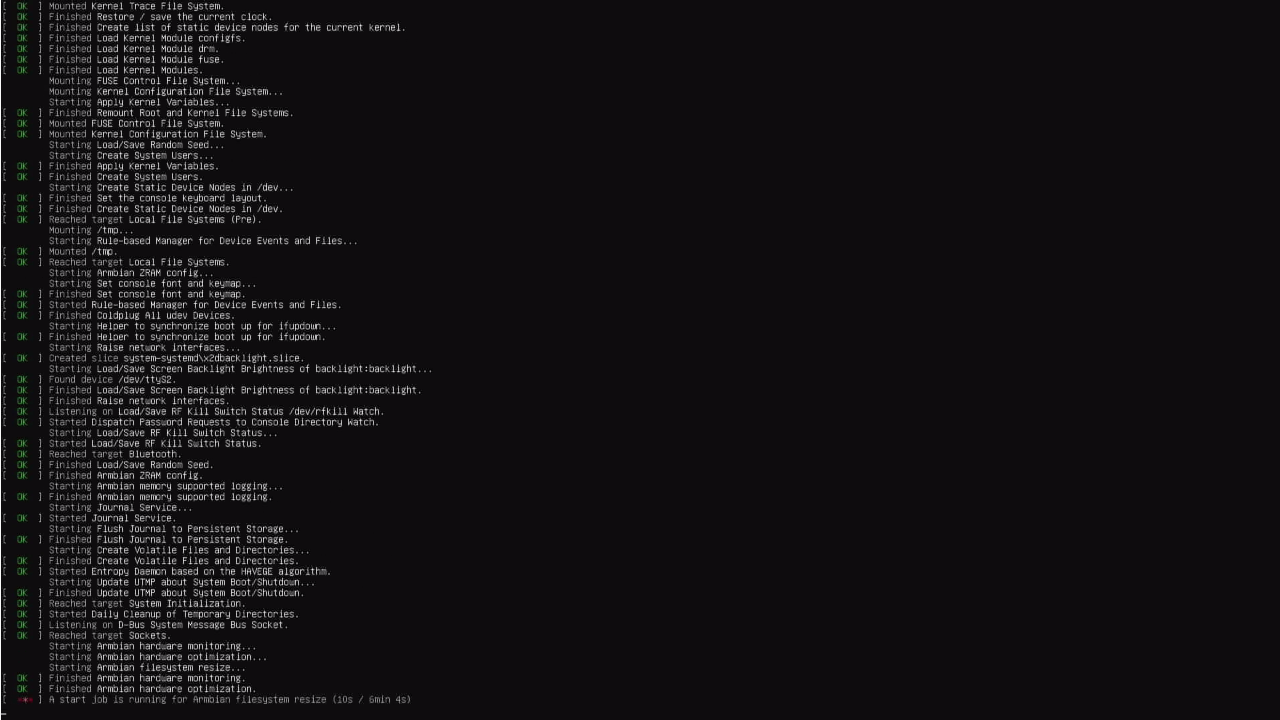
Well done! Now, we’ll create the root password, then add a user, give it a password, setup the locale and other boilerplate chores. Once it’s done, we now can ask Armbian to install itself on the eMMC.
sudo apt update && sudo apt upgrade
sudo armbian-config
Go to System settings .
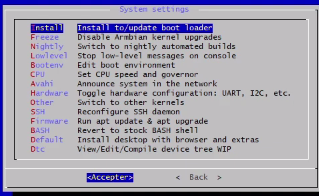
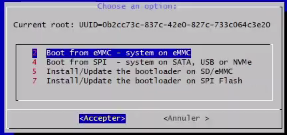
Then go to Install to/update boot loader . Choose Boot from eMMC - System on eMMC .
On the warning window, just click Yes .
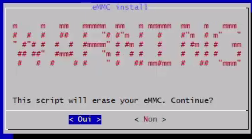
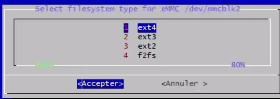
Choose the filesystem you want to use. I chose ext4 .
Say ok to Power off .
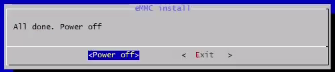
Once the P1 is stopped, remove the SDCard from the slot, and give it back power so that it can boot on the eMMC.
Conclusion
That’s it, folks, we have installed Armbian on the Station P1 running Android 7.1.2 without any other computer help. Good game! If you want to see the video that goes along with this article, don’t hesitate to have a look at https://www.youtube.com/watch?v=QBl3JALcPDs&feature=youtu.be.